


News & Exhibitions
Latest Factory Updates, Industry Trends & Global Exhibition Information
Why is your MDF edge banding machine leaving visible glue lines?
Why is your MDF edge banding machine leaving visible glue lines?
Visible glue lines can make an otherwise well-finished MDF panel look defective. They also create an expensive temptation: keep adjusting the machine until something improves. The trouble is that excessive adhesive, a cold panel, poor edge preparation, and incorrect roller pressure can produce similar-looking seams. Changing everything at once makes the real cause harder to find.
If your MDF Edge Banding Machine is leaving a noticeable joint, start by identifying what you are actually seeing. A thick adhesive bead needs a different correction from an open gap or a dark line caused by machining damage. The aim is not simply to hide the seam; it is to achieve a narrow, consistent joint without sacrificing bond strength.
Read the defect before touching the settings
Keep a rejected panel and inspect it under good lighting, both along the face and across the end. Compare the leading end, middle, and trailing end. Note whether the line appears on the top edge, bottom edge, or both.
- A continuous, raised bead: excess adhesive is a strong possibility, although poor seating can also force glue outward.
- An irregular gap with little visible adhesive: investigate incomplete glue coverage, edge geometry, and contact pressure.
- A dark but apparently closed joint: check adhesive color, contaminated glue, exposed MDF fibers, and shadows from trimming damage.
- A defect concentrated at panel ends: look at entry guidance, roller engagement, panel squareness, and machine timing where applicable.
- A seam that worsens after a stoppage: examine thermal stability, adhesive condition, and the restart procedure.
Before inspecting glue rollers, pressure units, or cutters, stop and isolate the machine according to its instructions. Hot-melt systems can remain dangerously hot after shutdown. Any running checks should use the machine’s approved observation points, with guards in place.
Check the MDF edge before blaming the glue pot
Adhesive cannot economically correct a badly prepared edge. MDF with saw marks, chipped face material, loose fibers, or an edge that is not square gives the banding an uneven surface to follow. More glue may temporarily disguise the problem, but it usually leaves a heavier joint and less predictable bonding.
Examine a freshly cut, unbanded sample. Check squareness with a suitable square and look along the edge for scoring or waviness. If the machine has pre-milling, inspect cutter condition, alignment, and stock removal against the manufacturer’s guidance. Too little removal may leave the original saw damage; inappropriate cutting conditions can introduce new defects.
Dust matters here. Fine MDF dust can remain on an edge that looks clean from a distance. Confirm that extraction and any fitted edge-cleaning devices are working. Do not assume that blowing the panel with workshop air solves the problem: unsuitable air quality can introduce oil or moisture, while uncontrolled blowing spreads dust.
This also matters in workshops combining edge banding with decorative surface processing. Equipment such as Zhongding’s Wire Drawing Machine serves wood surface brushing and grain enhancement, not glue-line correction. Where brushing and banding share a production area, keep dust-generating operations and cleaned bonding surfaces properly separated. A decorative finishing stage cannot compensate for an unsound edge joint.
Check the banding too. A bowed strip, damaged backing, or incompatible bonding surface can prevent close contact even when the MDF edge is sound. Verify the strip’s suitability for the adhesive system rather than assuming all PVC, ABS, veneer, or other banding materials behave alike.
Reduce adhesive only when coverage is already reliable
When there is an obvious squeeze-out bead, reducing glue application is a reasonable trial. It is not the right first move when the seam contains dry patches or the banding is barely attached.
Inspect the application system using the machine’s prescribed procedure. Check for buildup, uneven roller condition, and incorrect metering adjustment. On roller-gluing machines, an uneven film across the panel thickness can explain why one face has a heavy line while the other appears starved.
Make a small adjustment, then run comparable offcuts from the same board and banding batch. Evaluate both the appearance and the bond after the adhesive has cooled or cured as required. MDF edges vary in porosity, so a setting that works on one board grade may not transfer unchanged to another.
The useful target is the lowest application that still delivers continuous wetting and a sound bond under the actual process conditions. A nearly invisible line is not a success if the strip releases during handling or subsequent machining.
The displayed temperature is only part of the story
Start with the adhesive supplier’s processing instructions and the machine’s permitted operating range. There is no single correct temperature for every EVA or PUR adhesive. The adhesive grade, application system, feed speed, and substrate conditions all influence the result.
A glue-pot display does not necessarily represent the temperature at the application point. Depending on the machine, the pot and application roller may have separate heating zones. If performance changes after startup or a long interruption, have actual operating temperatures checked with an appropriate method by trained personnel.
Glue that is too cool may not wet the MDF and banding properly. Excessive temperature can degrade the adhesive, especially during prolonged residence in the system. Dark particles, unusual discoloration, or persistent deposits warrant investigation, not another upward temperature adjustment.
Cold materials can also shorten the available bonding window. Panels brought directly from cold storage may behave differently from panels conditioned in the production area. Check storage and conditioning recommendations, and consider condensation where temperature changes make it possible.
Match feed speed to the adhesive’s working window
The adhesive must remain workable until the banding reaches effective pressure. Slowing the feed is therefore not automatically helpful: on a given machine, it increases the travel time between application and pressing. Conversely, running faster than the heating and application system can support may make coverage inconsistent.
Treat speed, temperature, and adhesive selection as a connected process, but change only one variable during each diagnostic trial. Record the result before making the next adjustment.
Pressure should seat the strip, not distort it
Operators sometimes increase pressure until the joint looks closed. That can mask an alignment problem while creating another: displaced adhesive, distorted banding, or marks on the finished edge. Pressure cannot restore glue that has already lost its ability to wet the surfaces.
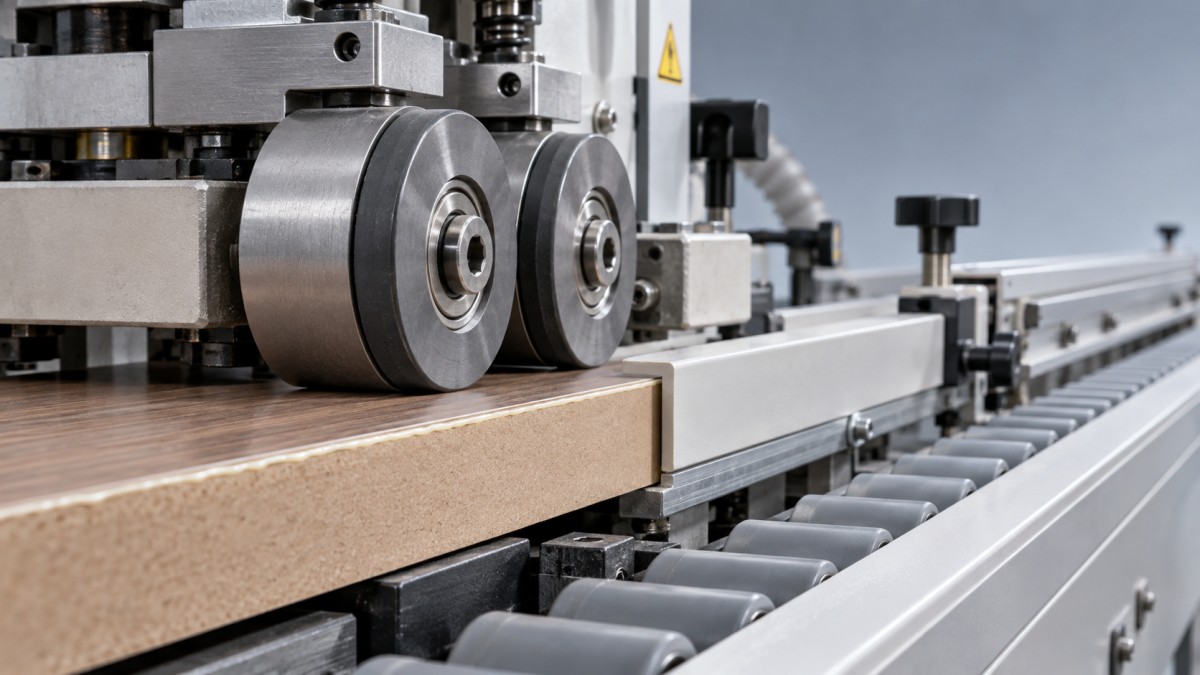
Inspect pressure rollers for adhesive buildup and wear, then confirm their settings against the machine documentation. Check panel guidance and hold-down settings as well. A panel that shifts or tilts through the pressure zone will not produce a uniform joint, even if the pressure reading appears normal.
A top-only or bottom-only seam deserves a geometry check before a general pressure increase. Panel edge squareness, roller alignment, and banding position can all produce an uneven joint across the thickness. Defects limited to leading or trailing ends may involve engagement or guidance rather than insufficient pressure throughout the pass.
Separate bonding defects from finishing defects
A sound joint can still look poor after trimming. Dull cutters, an incorrect trimming allowance, or aggressive scraping can expose MDF, leave a lip, or create a shadow beside the banding. Buffing may remove light residue, but it will not close an open joint.
Where the machine’s approved setup procedure allows it, compare the joint before and after finishing operations. Do not bypass guards to obtain a sample. If the seam is acceptable before trimming but conspicuous afterward, focus on the finishing units instead of adding glue.
Color contrast is another practical limit. A pale adhesive against dark decorative surfaces may remain noticeable even with a narrow, well-bonded joint. A compatible color-matched adhesive can reduce contrast, but it cannot fix a gap. Likewise, switching to PUR should be evaluated for bonding requirements and equipment compatibility, not treated as an automatic “zero-line” solution.
Run a controlled trial—and keep a useful record
Use comparable test pieces, one adhesive grade, and one banding batch. Photograph the original defect and record feed speed, temperature settings, application setting, and pressure settings where available. Adjust the most likely cause, label the resulting sample, and assess it after the required cooling or curing period.
Follow the adhesive supplier’s bond-assessment procedure where one is provided. Appearance alone is insufficient, and a casual pull test immediately after banding can be misleading. Look for consistent adhesion as well as a clean seam.
If the fault persists, send the machine supplier clear photographs, the adhesive technical sheet, panel and banding specifications, and your trial record. Qingdao Zhongding Machinery Co., Ltd., a woodworking machinery manufacturer and exporter with more than 20 years of industry experience, provides technical support and spare parts support. Specific observations make that support more useful than a report that simply says “the glue line is too thick.”
Once an acceptable setting is established, verify it again after a normal production pause and on the next material batch. A clean sample proves the setup can work; repeatable joints through ordinary production show that the underlying problem has actually been controlled.
Send Your Inquiry
We welcome your cooperation and we will develop with you.