


News & Exhibitions
Latest Factory Updates, Industry Trends & Global Exhibition Information
How to align a sliding table saw for precision in export-grade panel production?
Achieving export-grade panel precision starts with proper alignment—so, how to align a sliding table saw for export production accuracy? For global furniture and panel manufacturers relying on consistent ±0.1 mm tolerances, misalignment isn’t just a setup issue—it’s a root cause of material waste, rework, and failed QC audits. At Qingdao Zhongding Machinery, we engineer sliding table saws specifically for high-volume, export-compliant woodworking lines—and our field-proven alignment protocols ensure repeatability across shifts, operators, and climates. In this guide, we walk you through step-by-step mechanical and laser-assisted calibration techniques trusted by ISO-certified workshops worldwide.
Why Alignment Directly Impacts Export Compliance
Export-grade panel production demands dimensional consistency across thousands of parts—especially in flat-pack furniture, kitchen cabinet systems, and architectural millwork shipped internationally. A 0.3 mm deviation on a 2440 × 1220 mm MDF or plywood sheet may seem negligible, but it compounds during edge-banding, CNC nesting, or automated assembly. When the sliding table saw’s fence, blade, and rail system are out of sync, cumulative errors appear as inconsistent kerf width, angled cuts, or non-parallel edges—triggering rejection during buyer inspections or third-party audits like BSCI or Sedex. Misalignment also accelerates belt wear, increases motor load, and causes premature bearing failure—raising maintenance frequency and downtime in continuous production.
Core Alignment Points You Must Verify
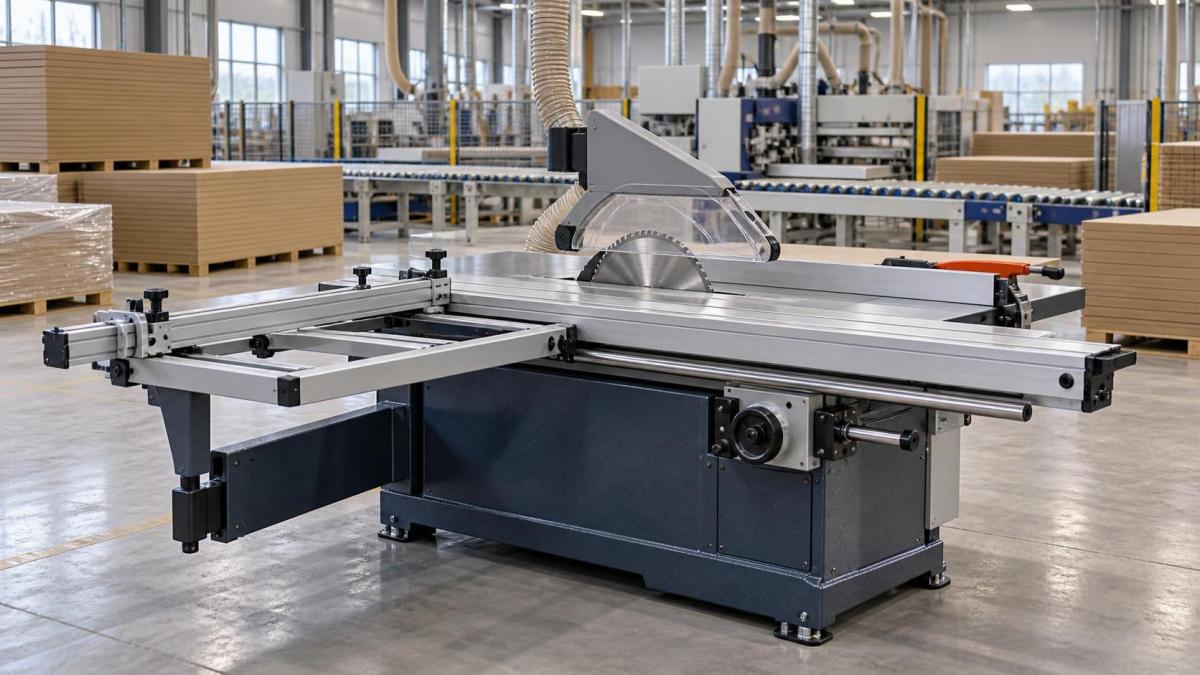
Unlike basic table saws, sliding table saws rely on three interdependent axes: the main blade plane, the sliding table rail path, and the rip fence orientation. If any one is off—even slightly—the others cannot compensate. Focus first on these four critical interfaces:
- Blade-to-table parallelism: Measured at full extension, both front and rear positions of the sliding table.
- Rail-to-blade perpendicularity: Confirmed by checking squareness between the rail axis and the blade plane at multiple points along travel.
- Fence-to-blade parallelism: Verified independently from the sliding table movement, using a precision straightedge and dial indicator.
- Crosscut sled squareness: Ensures the sliding carriage itself moves true—critical when cutting large panels end-to-end.
Step-by-Step Mechanical Calibration (No Laser Required)
This method uses standard workshop tools: a 300 mm machinist’s square, a 0.02 mm dial indicator with magnetic base, a 1 m steel rule, and a sharp pencil. Perform all checks with the machine cold and fully assembled—including guard, splitter, and anti-kickback pawls installed.
- Stabilize the base: Level the machine using built-in feet or shims. Confirm no rocking motion when pressing down on each corner of the cast-iron base.
- Check blade runout and arbor play: Spin the blade manually while measuring rim runout with the dial indicator (<0.05 mm acceptable). Excessive runout invalidates all subsequent alignment steps.
- Verify blade-to-table parallelism: Clamp the steel rule flush against the blade’s side (not teeth), then measure gap between rule and table surface at front and rear positions of the sliding table. Adjust table rail mounting bolts incrementally until gap remains ≤0.03 mm over full travel.
- Align the rip fence: Set fence to 90° using the machinist’s square against the blade body (not teeth). Tighten fence locking mechanism, then re-check squareness at both ends of the fence. If discrepancy exceeds 0.05°, loosen fence mounting screws and reposition—do not force adjustment via tension knobs alone.
- Test rail squareness: Attach dial indicator to fixed table; position stylus against rail face. Move sliding table slowly from front to rear. Deviation >0.04 mm per meter indicates rail warping or mounting error—requires professional recalibration.
When to Use Laser Alignment Tools
Mechanical methods work reliably for routine maintenance—but laser systems add value when ambient temperature fluctuates >5°C between shifts, or when machines operate near concrete floors subject to seasonal settling. A Class II visible-line laser projector mounted on the blade arbor can project a reference plane onto the table surface and fence. Key advantages include real-time visual confirmation of convergence points and detection of subtle angular drift undetectable with dial indicators. However, lasers do not replace mechanical verification: they confirm geometry but cannot detect rail flex or bearing backlash. Always validate laser readings with physical measurements before finalizing adjustments.
Environmental & Operational Factors That Undo Alignment
Even perfect initial alignment degrades under real-world conditions. Two factors account for most repeat misalignment:
- Thermal expansion: Cast-iron tables expand ~11 µm/m·°C. A 20°C rise from morning startup to midday operation shifts fence-to-blade tolerance by up to 0.12 mm on a 1.2 m fence—enough to breach export spec. Allow 30 minutes warm-up before final alignment check.
- Vibration transmission: Mounting directly on unisolated concrete floors transmits low-frequency resonance into rails and bearings. We recommend rubber-isolated mounting pads rated for ≥1200 kg static load—especially for machines running >8 hours/day.
Frequency and Documentation Protocol
For export-focused production, perform full alignment weekly—not just after blade changes. Record results in a simple log: date, ambient temperature, measured deviations at each point, and technician initials. Over time, trends reveal whether wear is localized (e.g., rail bushings) or systemic (e.g., foundation settlement). Qingdao Zhongding Machinery supplies alignment templates and calibrated reference blocks with every sliding table saw shipment—tools designed to match the dimensional tolerances expected in certified export workflows.
What to Do If Alignment Drifts Repeatedly
If you find yourself re-aligning more than once per week despite correct procedure, investigate these less obvious sources:
- Worn rail support rollers—check for lateral play or uneven contact marks on roller surfaces.
- Loose spindle housing bolts—vibration loosens them gradually; torque to manufacturer-specified values monthly.
- Contaminated linear guides—dust or resin buildup alters rail tracking; clean with lint-free cloth and isopropyl alcohol every 100 operating hours.
Do not attempt to shim or bend structural components. Persistent instability indicates component fatigue—not operator error—and requires qualified service intervention.
Send Your Inquiry
We welcome your cooperation and we will develop with you.